Documenting your code is a form of art!
A well documented code could save you in various scenarios. Even if a new member starts going through an already available code or the author(him/her/they) is in need to understand a complex module written in the past, documentation could save the day.
In my projects, I have been adding multiple lines of comments, to explain about the module or to add some important info needed for that block of code. Besides, the project will have a separate document(word/Pdf) explaining about the project.
But, there is more effective ways of documenting your code. And one such widely used tool is Doxygen. This post would assist you as a bridge to know the tool from basics and also elevating to advanced level.
Doxygen:
Doxygen is available for all platforms like Windows, Linux and Mac. You can either opt with a GUI way of usage or a terminal(or command prompt) way of usage.
You can install doxygen in linux with command
sudo apt-get install doxygen
For Windows, installing the GUI version of software provides command line support too.

Languages supported:
Doxygen supports languages such as C, C++, Java, C# etc. Python is a kind of exception. Doxygen can do recognize the python commands, but couldn’t understand most of the pythonic syntax. Hence in case you are a PYTHONISTA, you can(effectively) do the documentation with inbuilt docstrings or with tools like sphinx.
Doxygen Syntax:
There are various formats to define a doxygen comments. Considering C/C++, we can modify the default commenting as below mentioned formats, so that doxygen can understand the information provided.
C style comments:
/**
* --Content Here--
*/
QT style
/*!
* --Content Here--
*/
Normal multiline command syntax
///
/// --Content Here--
///
Doxygen Configuration File:
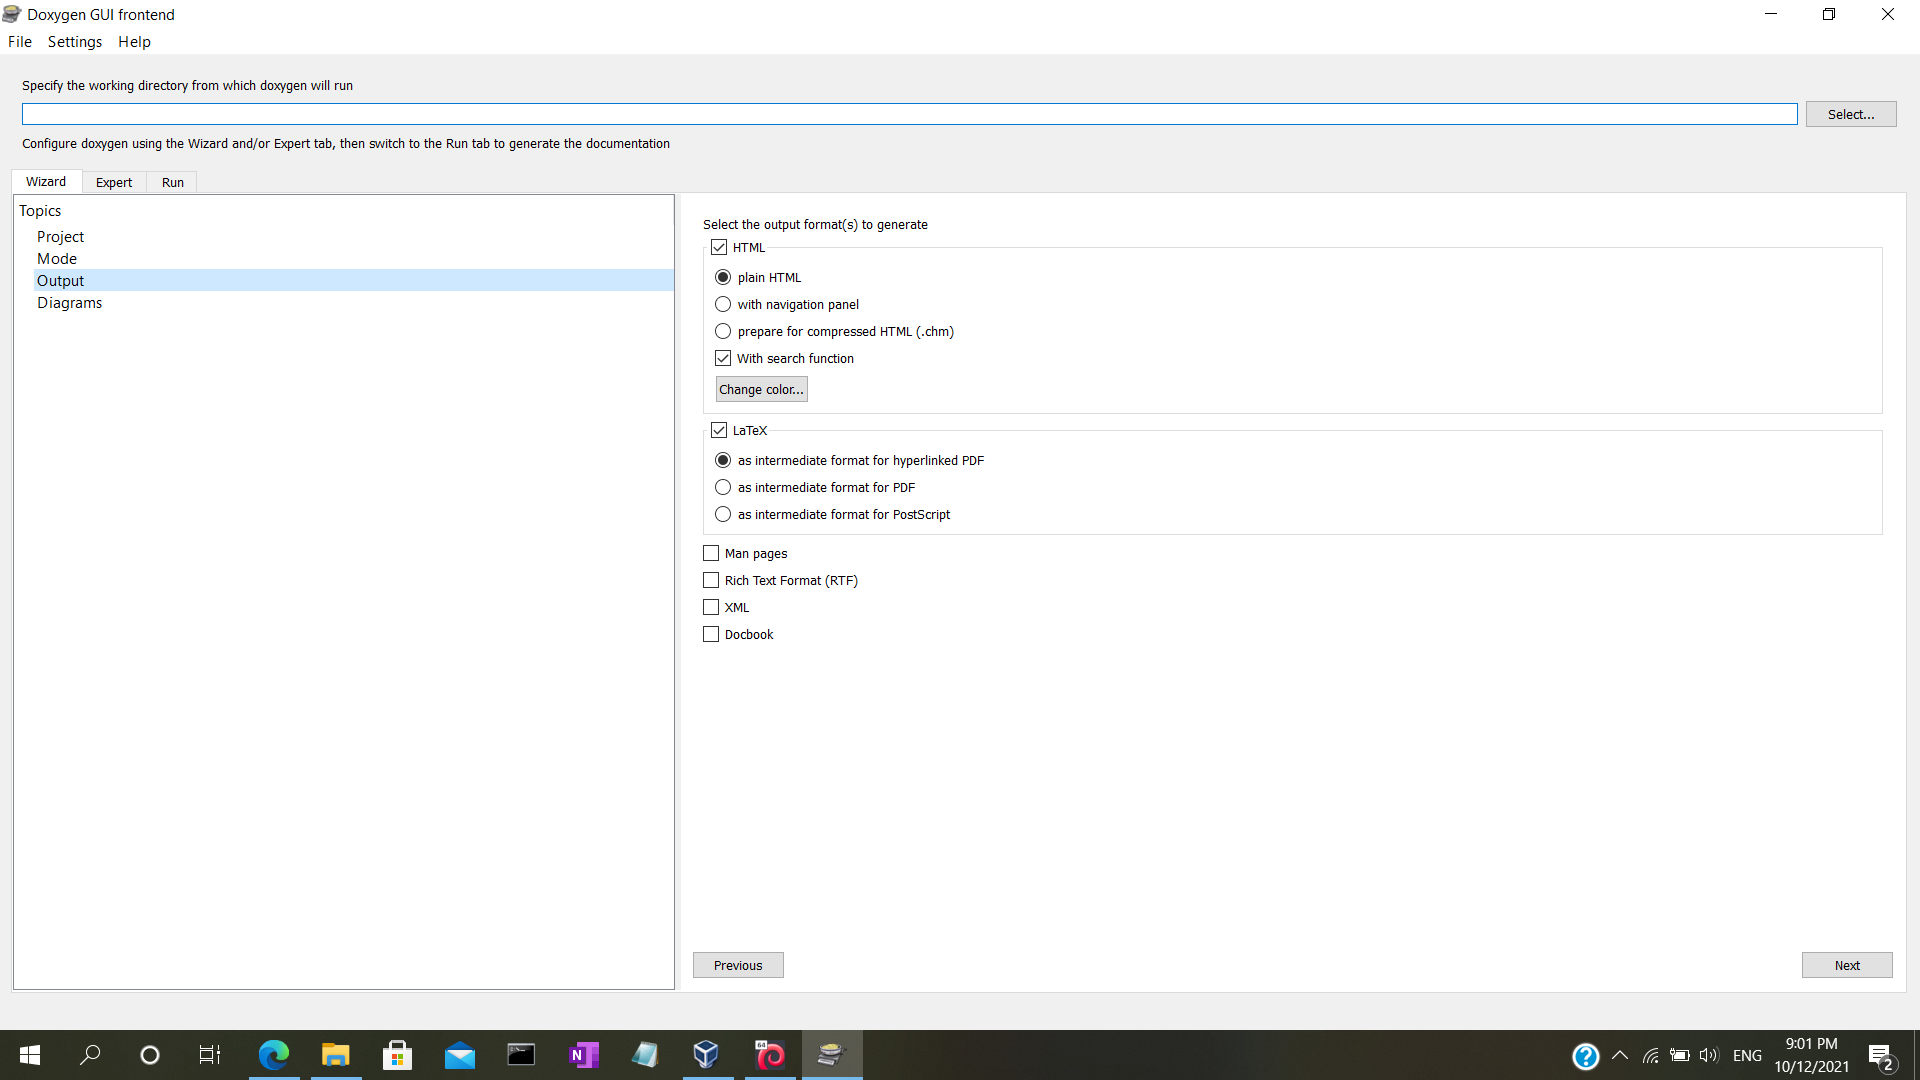
We have seen enough about doxygen. Now lets get into the vitals. First step would be generating the configuration file. In this config file, we can modify/customize the doxygen behavior.
For simpler understanding, we can change the output directory, input source location, format of output genarated, files to be excluded etc with this configuration file.
Below are the categorizations that can be modified with configiration file.
- Project related options
- Build related options
- Input related options
- Source browsing related options
- HTML related options
- LaTeX related options
Some major parameters available in Doxygen configuration file is listed below so that you can start playing around with these,
-
INPUT To give the path of the directory in other terms - source directory.
-
FILE PATTERNS If the value of the INPUT tag contains directories, you can use the FILE_PATTERNS tag to specify one or more patterns (like *.c and *.h).
-
EXCLUDE & EXCLUDE PATTERN The EXCLUDE tag can be used to specify files and/or directories that should excluded from the INPUT source files. SOURCE_BROWSER
-
PROJECT_NAME The PROJECT_NAME tag is a single word (or a sequence of words surrounded by double-quotes) that should identify the project for which the documentation is generated.
-
PROJECT_NUMBER The PROJECT_NUMBER tag can be used to enter a project or revision number. This could be handy for archiving the generated documentation or if some version control system is used.
-
OUTPUT_DIRECTORY The OUTPUT_DIRECTORY tag is used to specify the (relative or absolute) path into which the generated documentation will be written.
-
OUTPUT_LANGUAGE Possible values are: Afrikaans, Arabic, Armenian, Brazilian, Catalan, Chinese, Chinese-Traditional, Croatian, Czech, Danish, Dutch, English (United States), Esperanto, Farsi (Persian), Finnish, French, German, Greek, Hungarian, Indonesian, Italian, Japanese, Japanese-en (Japanese with English messages), Korean, Korean-en (Korean with English messages), Latvian, Lithuanian, Macedonian, Norwegian, Persian (Farsi), Polish, Portuguese, Romanian, Russian, Serbian, Serbian-Cyrillic, Slovak, Slovene, Spanish, Swedish, Turkish, Ukrainian and Vietnamese. The default value is: English.
-
PYTHON_DOCSTRING By default Python docstrings are displayed as preformatted text and doxygen’s special commands cannot be used. By setting PYTHON_DOCSTRING to NO the doxygen’s special commands can be used and the contents of the docstring documentation blocks is shown as doxygen documentation. The default value is: YES.
The above list should provide almost all necessary configurations. Few more are there in the configuration files and you can understand its purpose by just going through the file. Now lets move to the parameters that are actually helpful while commenting our source code.
file- Indicates that a comment block contains documentation for a source or header file with name.
 /**
* @file main.c
*/
brief- Starts a paragraph that serves as a brief description. It will be used at the start of the documentation page for files & classes.
\brief  contains API functions (for starting of the file)
/**
* @brief  briefs  TEST PARAMETERS function
*/
TEST_PARAMETERS(int a, int b);
@brief is mainly used for header files to declare a variable & starting of the source file mostly.
details starts the detailed description (You can also start a new paragraph (blank line) then the \details command is not needed)
/**
*  @brief  Test_init initilaises the Test fn.
*
*  @details Sample message. This API initilaises the Test upon successful starting
*/
param Starts a parameter description for a function parameter with name parameter-name, followed by a description of the parameter.
def documentation for #define macros. return tells a return value description for a function for any of the options retval Starts a description for a function's return value with name return value, followed by a description of the return value.
In the below fn declaration, return returns status.
Demo_Code(DB_Handle *handle, Ts_msg me)
/**  ………
*     \return  This API can return any one of the following status-codes from # Dia_Ts_status
*     \retval	 #Dia_Ts_Success
*     \retval	 #Dia_Ts_Error
*/
These are the major things that are mandatory to effectively document your code. And yes, there are bunch of other features in doxygen. For instance, you can group things together in a single page/subpage, add images to your documentation and lot more like these.
Hope this post has provided some useful information. Let us know if you have any queries in the comment section.
 grim
grim 
 Customize your terminal in 3 Steps